If you’re considering Rejuran treatment, it’s normal to wonder what actually happens during a session. This guide walks you through the process from start to finish, helping you feel informed before your appointment. Rejuran is a non-invasive, cellular renewal treatment that rejuvenates skin on a biological level, suitable for the face, under eyes, scars, lips, neck, and other areas.
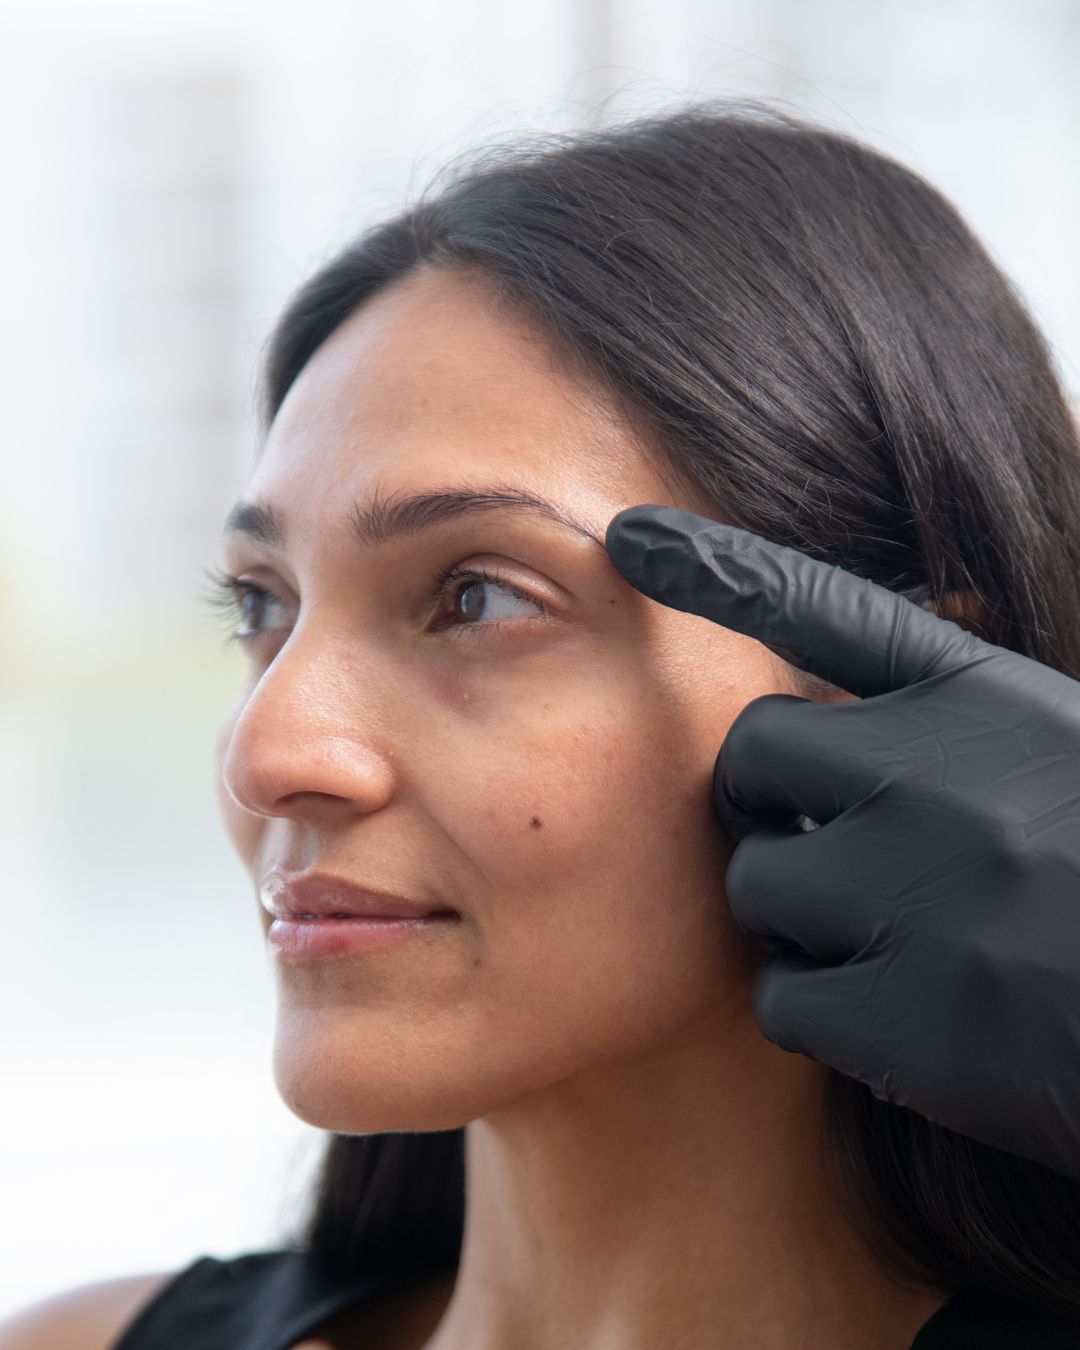
1. Consultation and assessment
Your Rejuran treatment begins with a consultation with a qualified medical practitioner or registered nurse. During this stage, they will:
- Discuss your skin concerns and treatment goals
- Review your medical history, allergies, and any medications
- Evaluate the areas to be treated, including the face, under eyes, lips, neck, or hands
- Determine if you’re suitable for Rejuran, and then choose the most appropriate Rejuran formulation (e.g., Healer, I, S) and delivery technique (microinjection or blunt cannula)
This is also the opportunity to ask questions about results you can expect, downtime, and possible Rejuran side effects.
2. Skin preparation
Once your treatment plan is confirmed, the practitioner will prepare your skin:
- Cleansing the area thoroughly to reduce infection risk
- Applying a topical numbing cream to minimise discomfort
- Marking the treatment area for precise placement
Preparation ensures that your session is as safe and comfortable as possible.
3. Rejuran delivery methods & how they differ by treatment area
Rejuran can be administered using two primary techniques, each chosen based on the treatment area, desired outcome, and patient comfort.
Microinjections
- Tiny, precise injections placed directly into the dermis.
- Designed for maximum collagen and tissue regeneration due to controlled micro-trauma.
- Commonly used for full-face treatments, acne scars, and the under-eye area where pinpoint accuracy is essential.
Blunt cannula
- A flexible, rounded-tip cannula is used to deliver Rejuran through a single entry point per side.
- Minimises trauma, reduces downtime, and lowers the risk of bruising.
- Ideal for larger areas (neck, décolletage, hands) or patients seeking minimal downtime.
Your practitioner will explain both Rejuran injection techniques during your consultation and recommend the best method based on your skin concerns, tolerance for downtime, and anatomical suitability.
How Delivery Method Varies by Area
Under-eye area (Rejuran I)
- Preferred method: Blunt cannula or microinjections with ultrafine needles.
- Why: The under-eye skin is extremely delicate; Rejuran I has a softer, low-viscosity formulation designed specifically for this area.
- Cannula advantage: Only 1 entry point per side, significantly reducing swelling and bruising, eliminating injection pain, and completely avoiding lumps.
- Microinjection advantage: Allows precise placement directly into fine lines or hollows.
Full face (Rejuran Healer)
- Preferred method: Microinjections for targeted collagen stimulation across multiple points.
- Cannula option: Can be used for patients wanting reduced injection marks and shorter recovery, or to reduce discomfort.
Scars / acne scarring (Rejuran S)
- Preferred method: Microinjections are most effective, allowing deeper, precise placement into scar tissue.
- Why: Rejuran S has a higher viscosity designed to physically support dermal defects while stimulating repair.
Lips, neck, hands, and other areas
- Typical method: Blunt cannula for smooth distribution and reduced injection sites.
- Microinjections: May be used when pinpoint precision is required, particularly for fine lines around the mouth or the lips.
Number of injection points
- Microinjections: Multiple points across the treatment zone (often 20–50 points per session for full-face treatments).
- Cannula: Typically one entry point per side for small areas like under-eyes and lips, or one per region for the neck, full face, or hands.
Your clinician will balance effectiveness with comfort to ensure optimal results with minimal downtime. Both techniques are effective — the key difference lies in how they deliver Rejuran and how the skin responds in each area.
4. Post-treatment care
After injections are complete, your practitioner may:
- Gently massage the treated areas to ensure even distribution (if appropriate)
- Clean the skin and apply a soothing balm
- Outline the Rejuran aftercare instructions on what to avoid and how to care for your skin
Get started
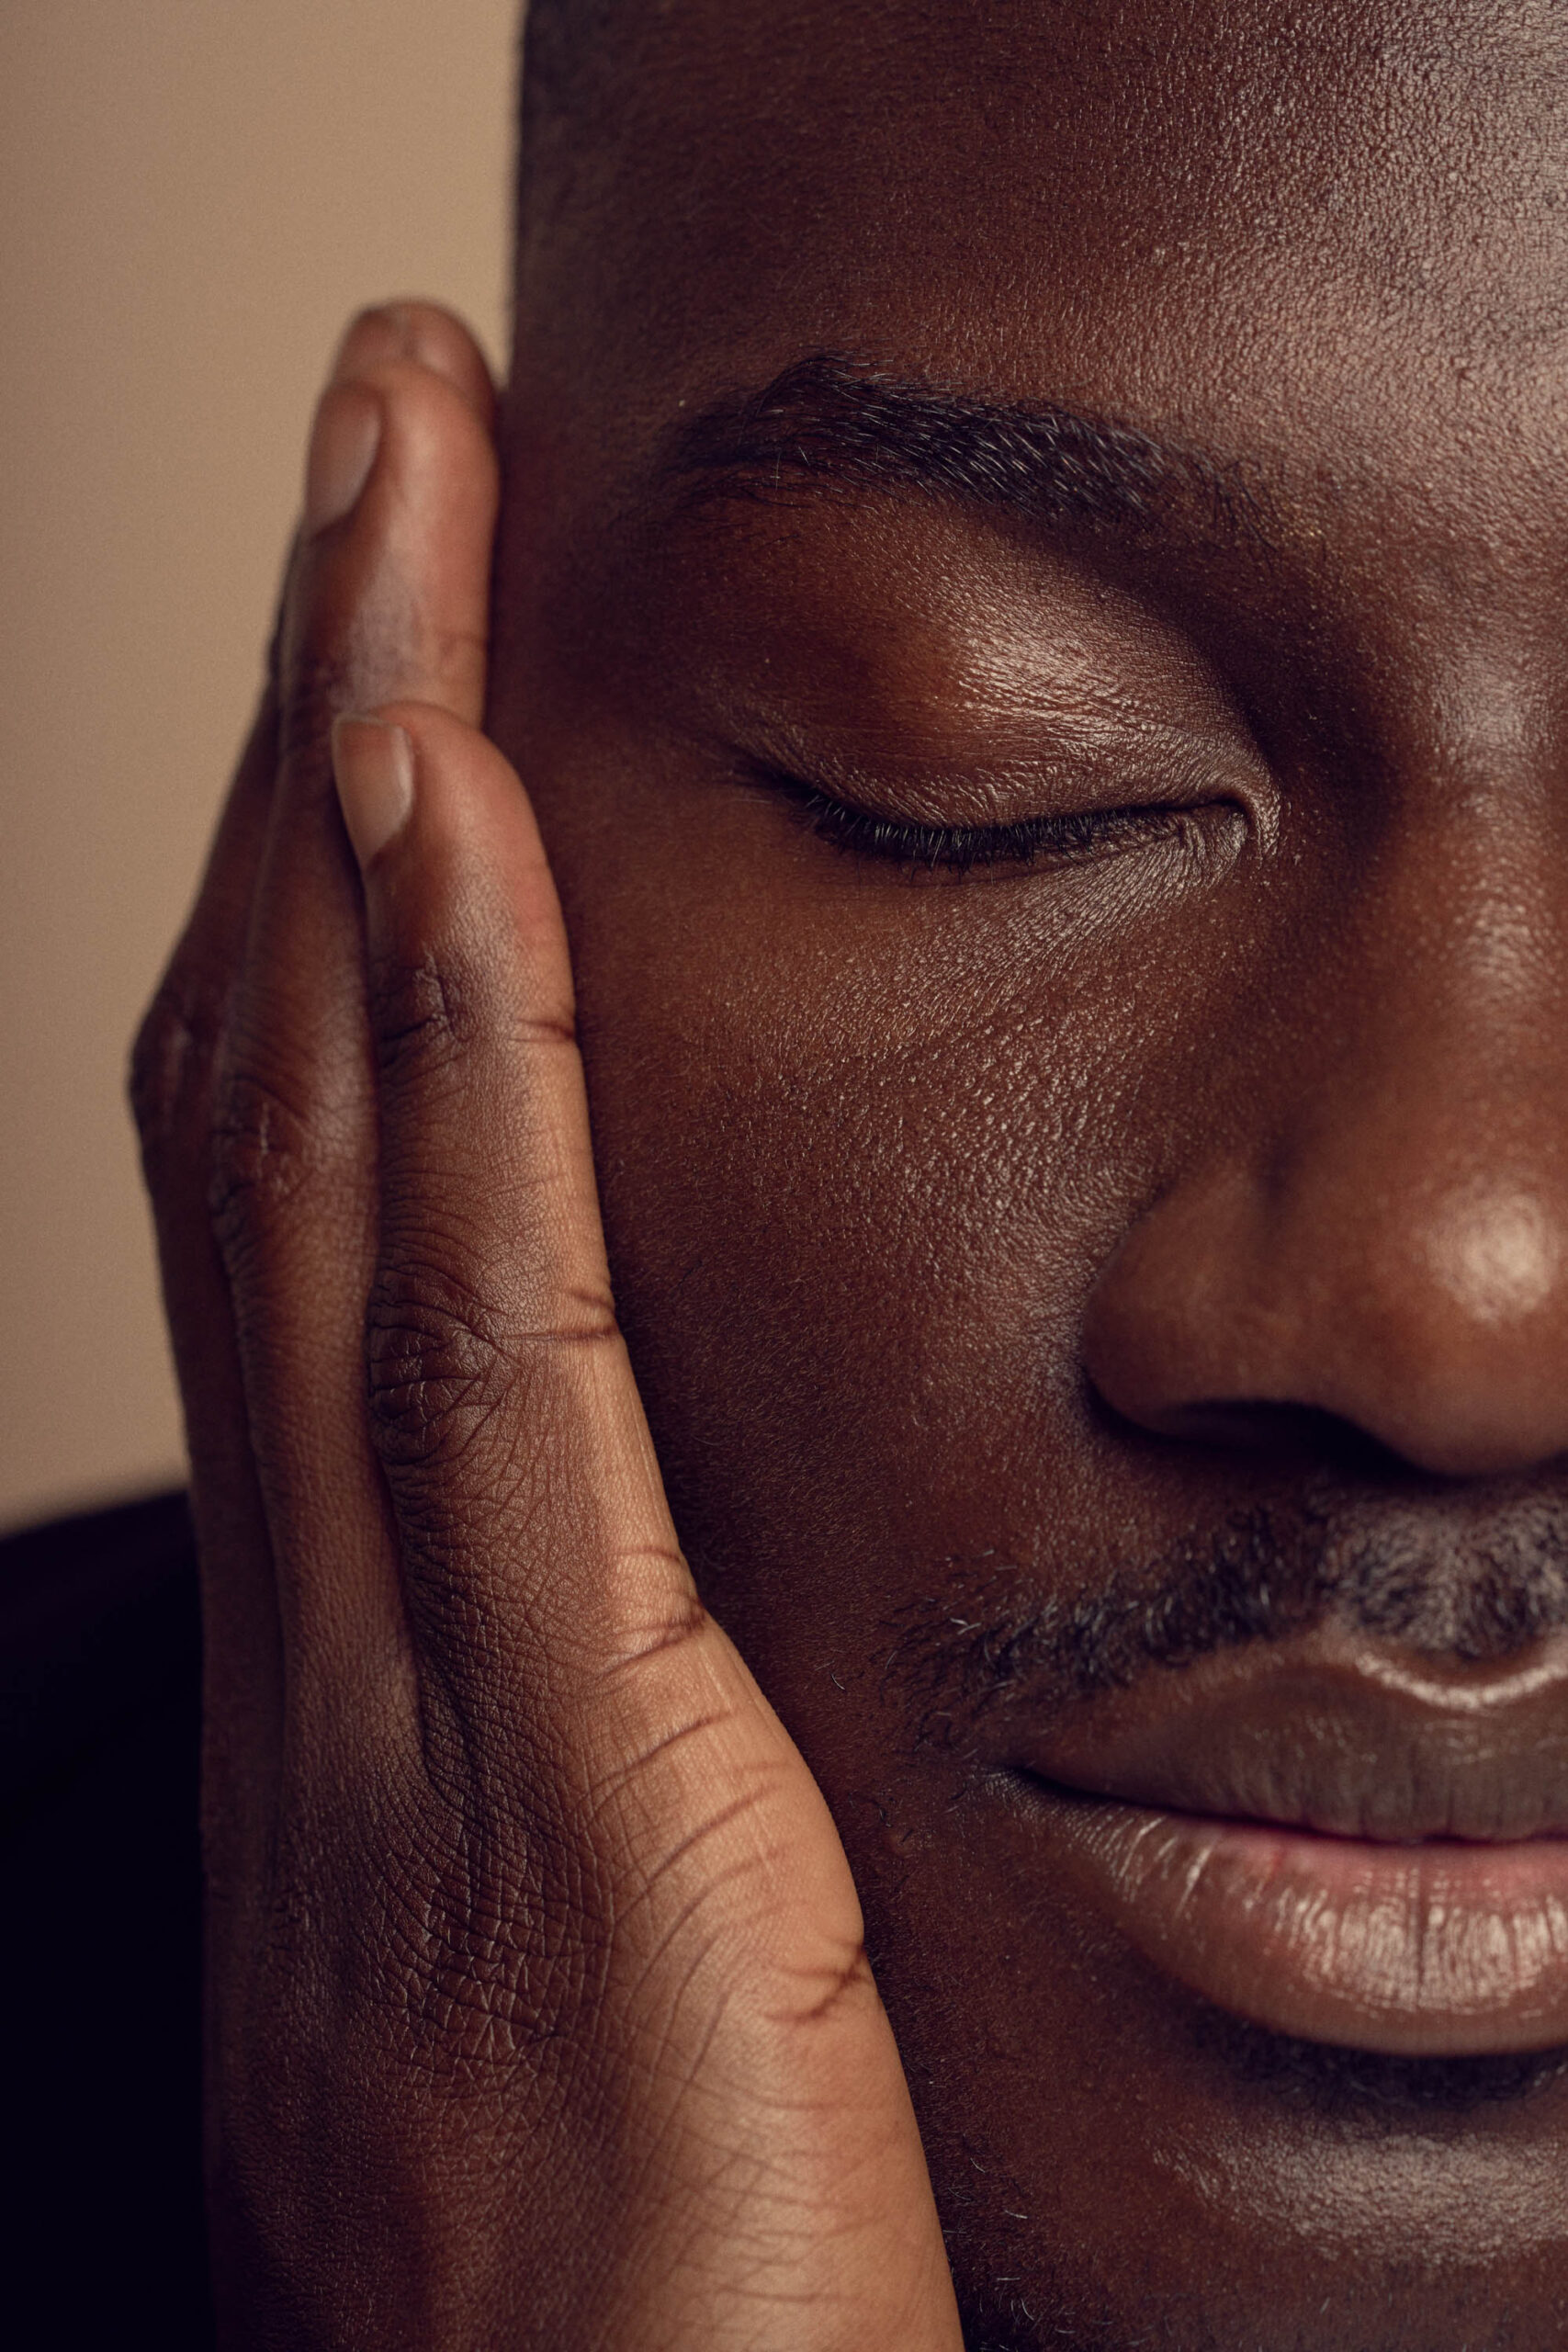
5. Recovery and results
Immediately after the Rejuran session, you may notice:
- Small bumps at injection sites that usually resolve within 24 hours
- Mild redness or swelling, especially in delicate areas like the under eyes
- Subtle improvements that continue to develop over the following weeks
The recovery process after Rejuran usually takes a few days, but you can resume almost all activity immediately
Result timelines after Rejuran vary depending on the area treated, however the most commonly treated areas are full face, neck, under eyes, scars, lips, and hands.
Want to know more about Rejuran?
Learn more about Rejuran treatments in our complete Rejuran treatment guide.
Searching online for a “Rejuran treatment near me”?
Curious about which Rejuran treatment is right for you? Explore our Rejuran treatment options and packages and book a consultation.